

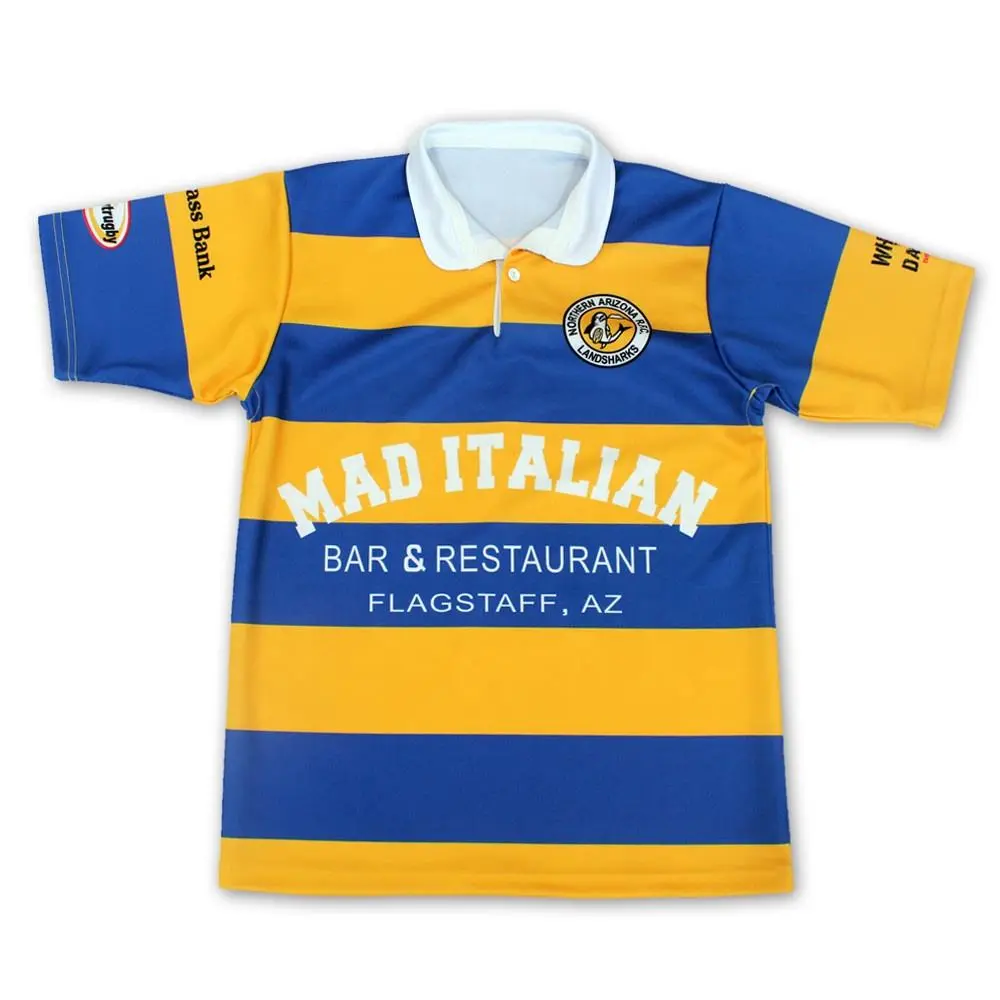
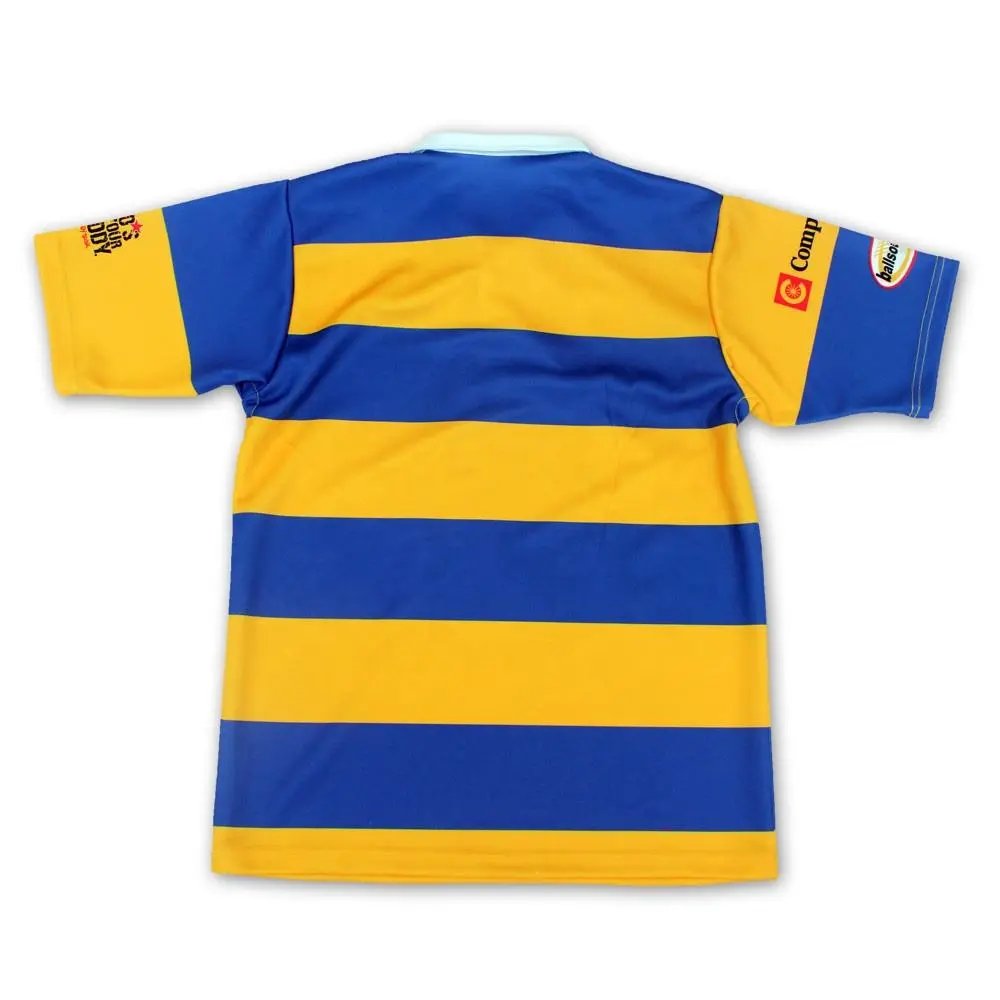
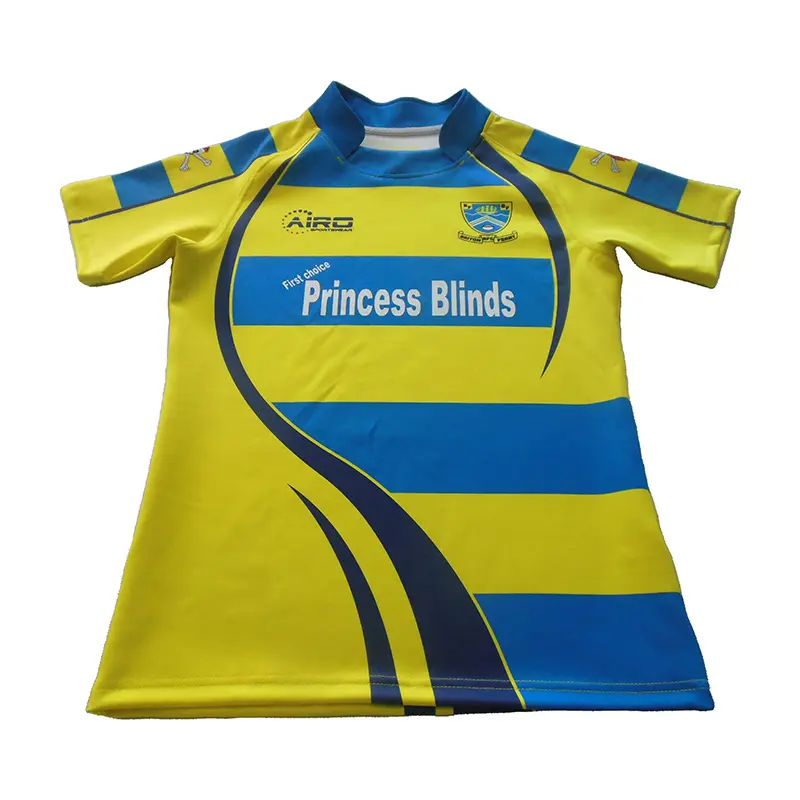
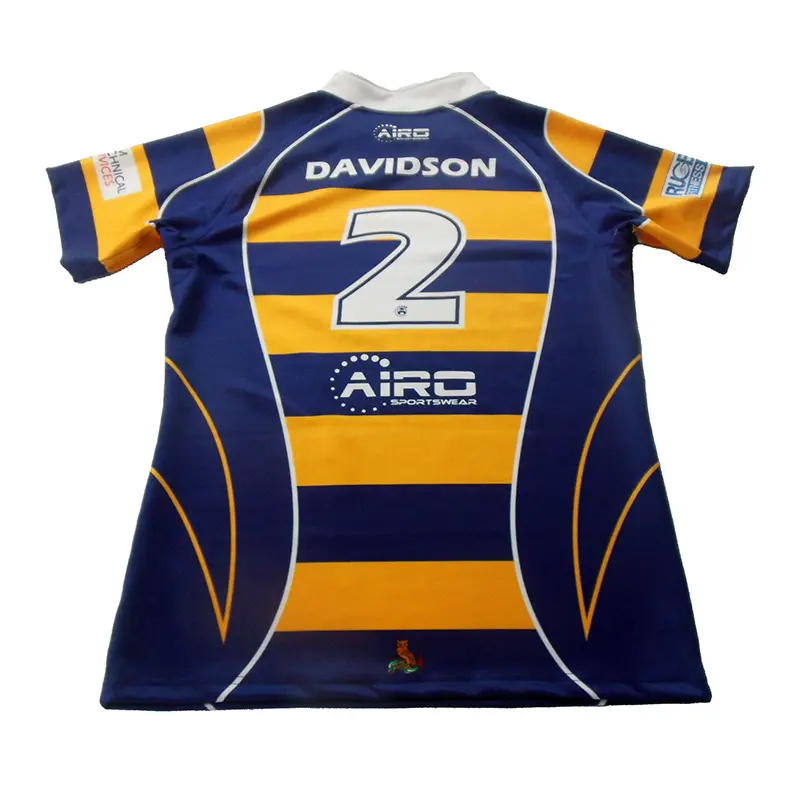
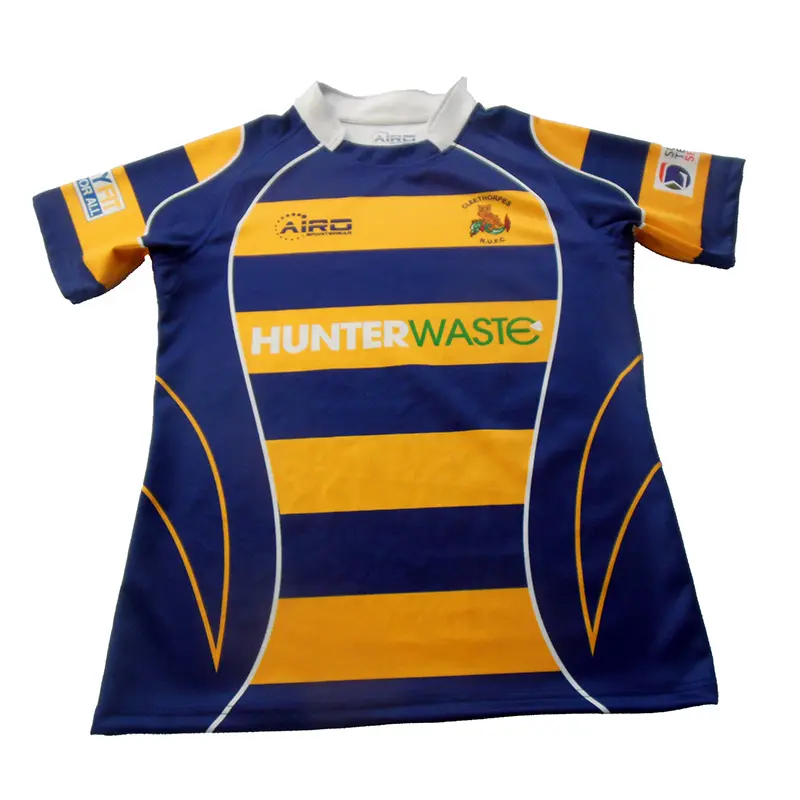
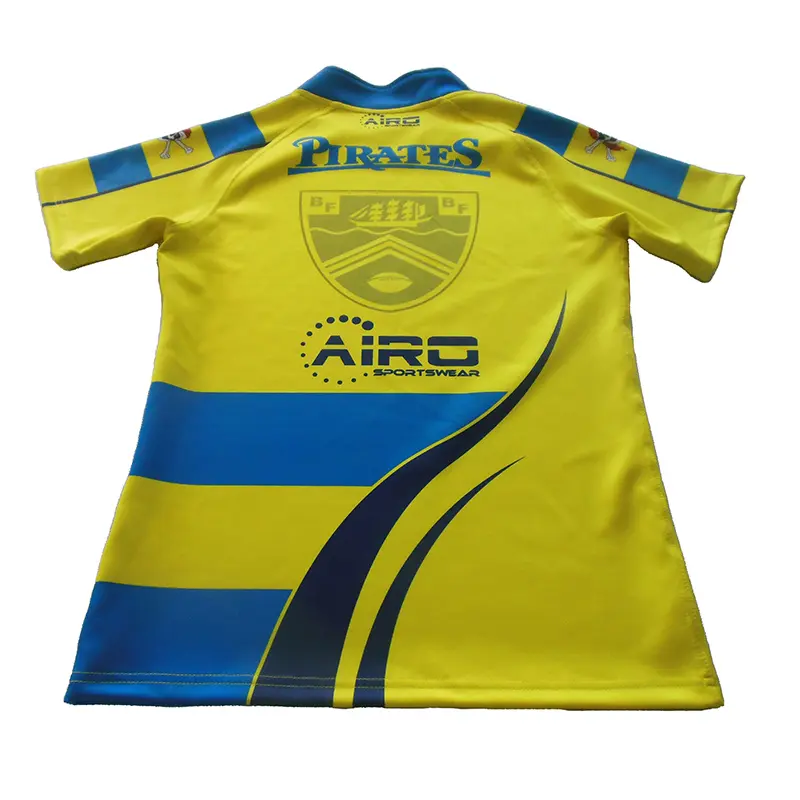
Custom Rugby Jerseys
USD $8-$25 per piece
Custom order range, depending on quantity, fabric, decoration method, size mix, and packing requirements.
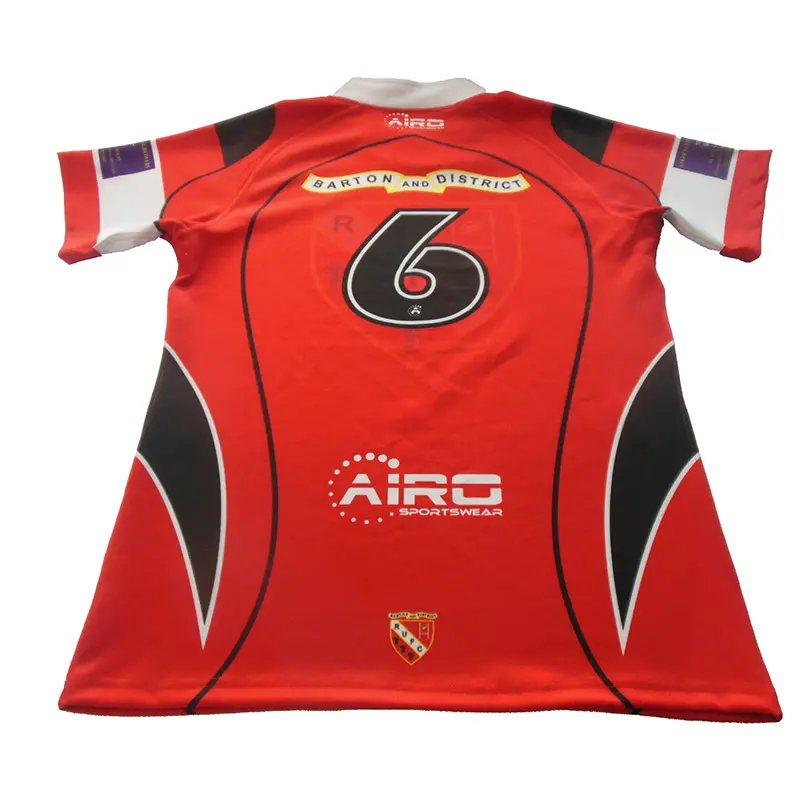
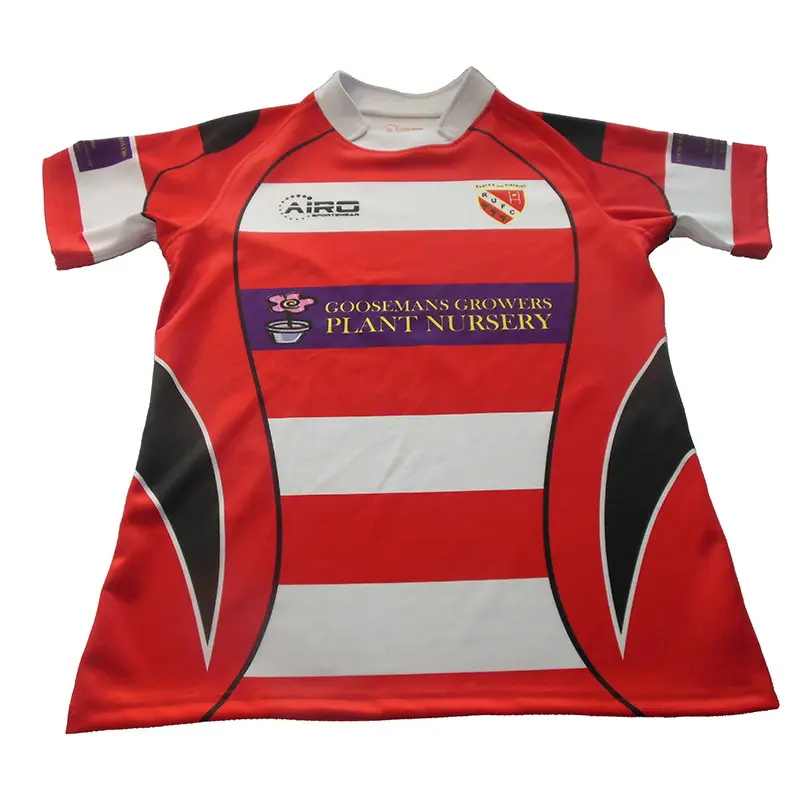
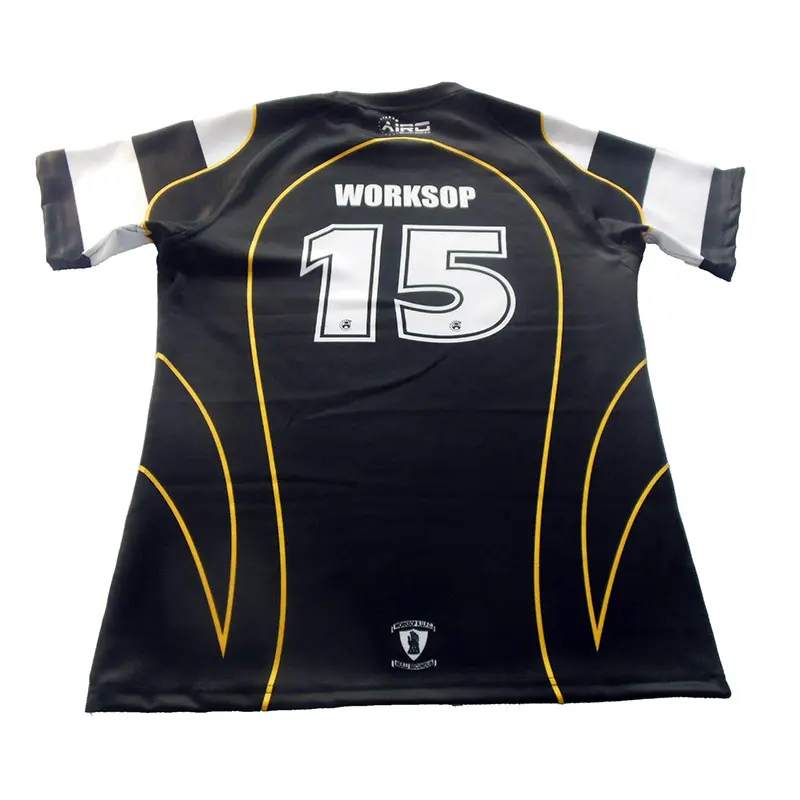
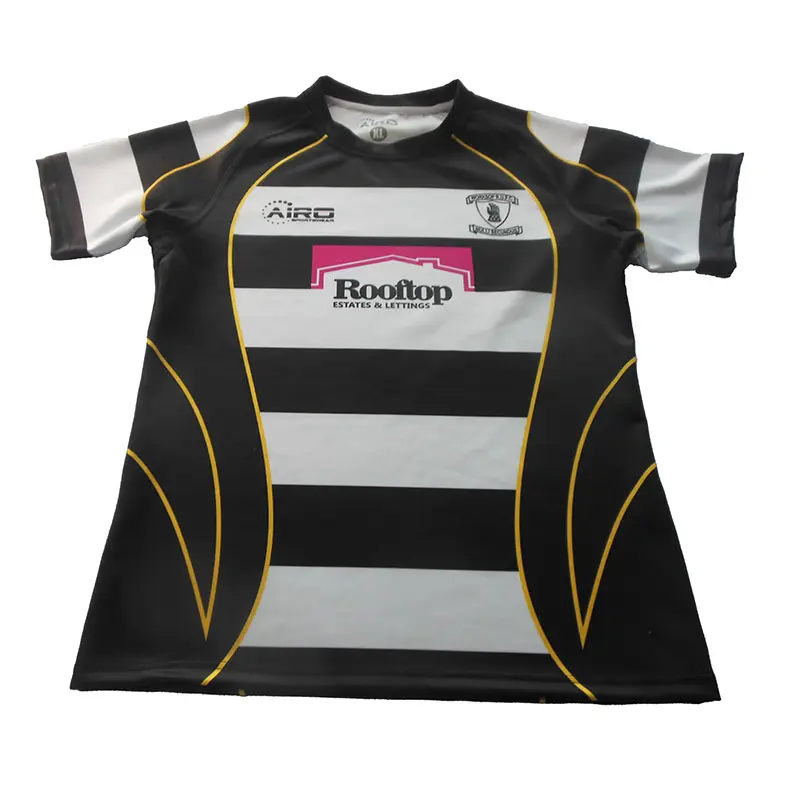
Choose a match or training rugby jersey, then confirm the fit, collar, stretch panels, and team artwork.
- Use: match or training
- Fit: regular or slim
- Structure: traditional collar or crew neck with approved reinforcement and stretch panels
- Material: approved double-knit polyester with optional stretch or mesh panels
- Fit: regular, slim, match, training, or custom rugby patterns
- Decoration: sublimation, embroidered marks, patches, or tested heat transfer
- Packing: sorted by player, rugby version, and size
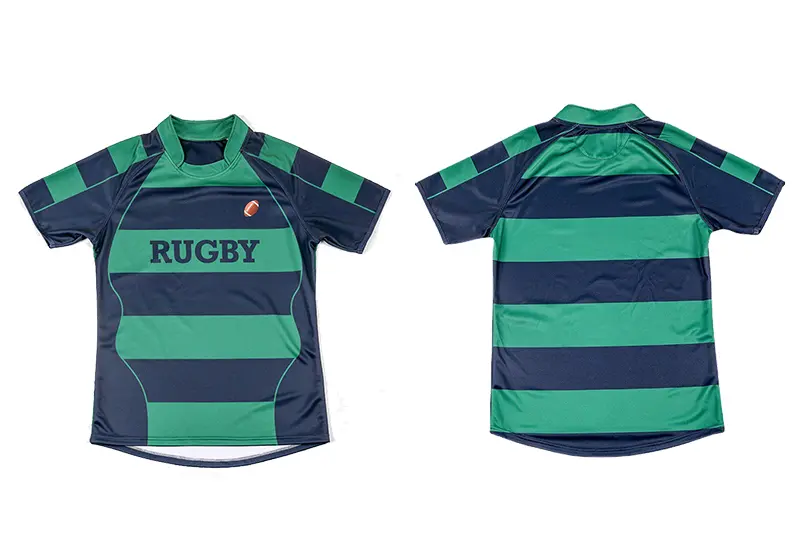
Start With the Rugby Reference
Use the reference to set the jersey before placing sponsors.
- Use
Match or training. - Fit
Regular or slim rugby pattern. - Structure
Collar, shoulders, side panels, reinforcement, and stretch direction.
Choose the Rugby Build
Set the fit, collar, and sponsor layout before sampling.
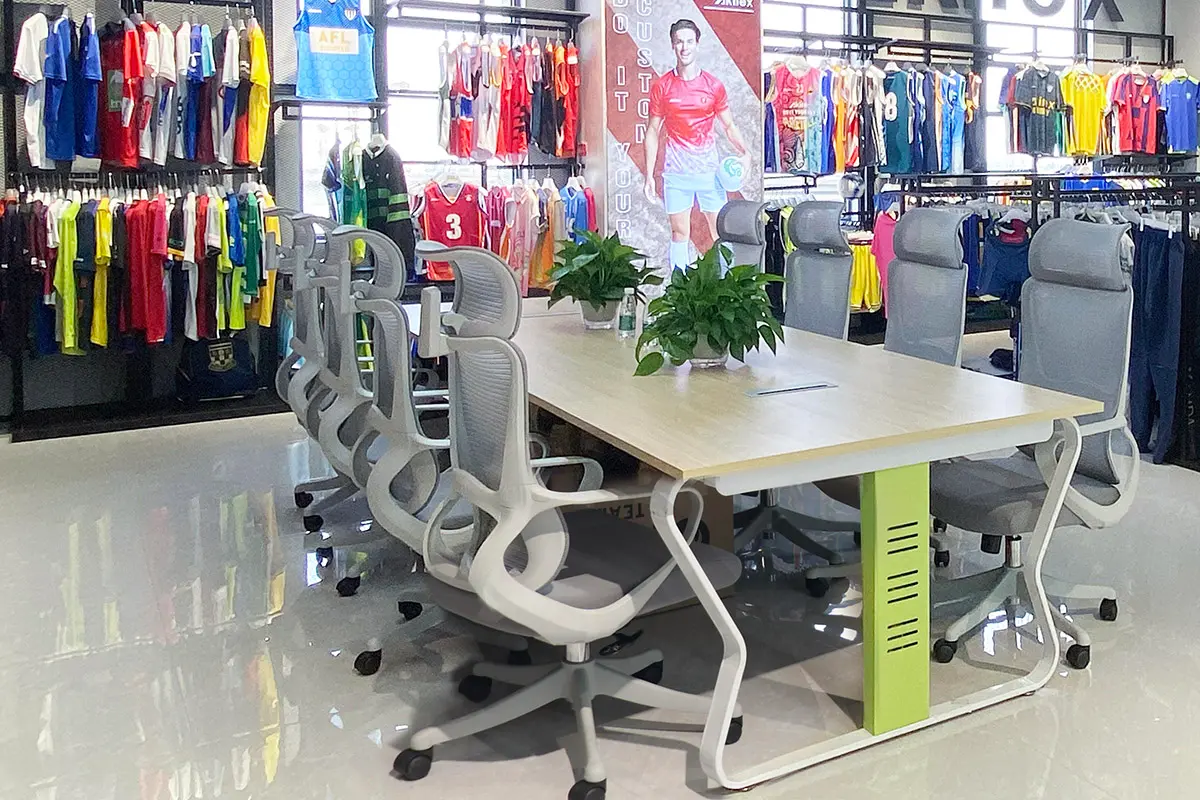
Use and Fit
Choose match or training use, then select a regular or slim rugby pattern.
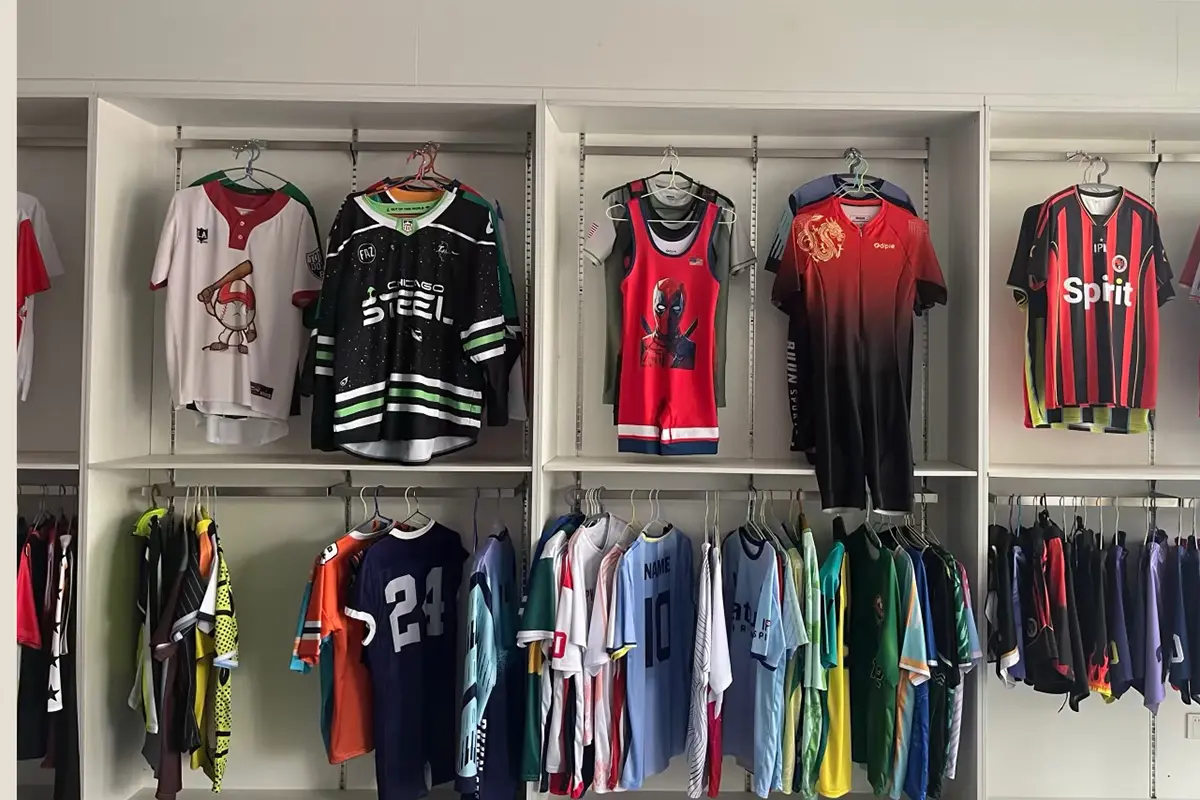
Collar and Reinforcement
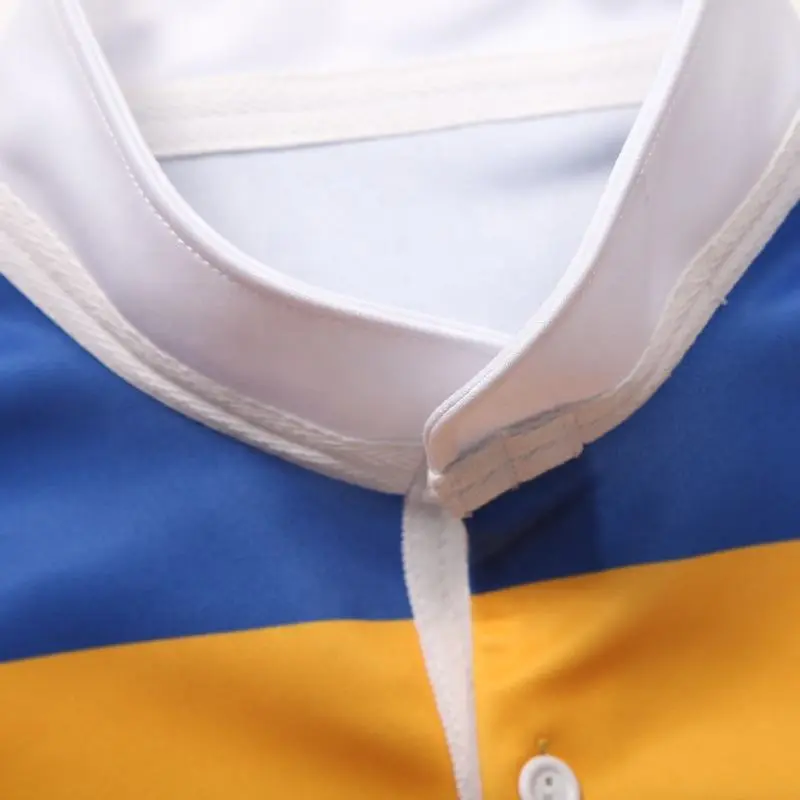
Choose a traditional collar or crew neck. Mark the reinforced and stretch areas.
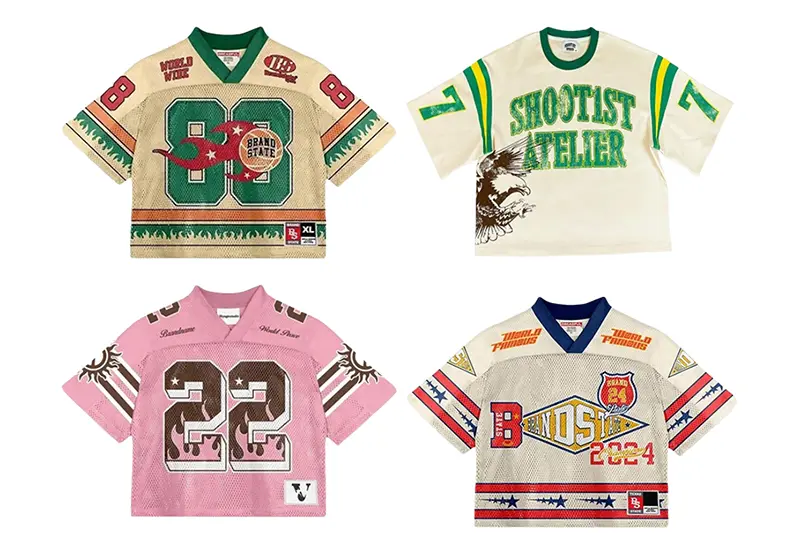
Sponsors and Numbers
Place the crest, sponsors, name, number, and sleeve marks on the approved pattern.

Match Materials to the Rugby Structure
Available GSM options: 140, 160, 180, 200, 220, and 240. Approve each material for its panel and use.
- Double-knit polyester
Provides a stable body or collar structure. - Stretch panel
Use it where the stretch direction matches the pattern. - Mesh panel
Check the seam and decoration in its final position.
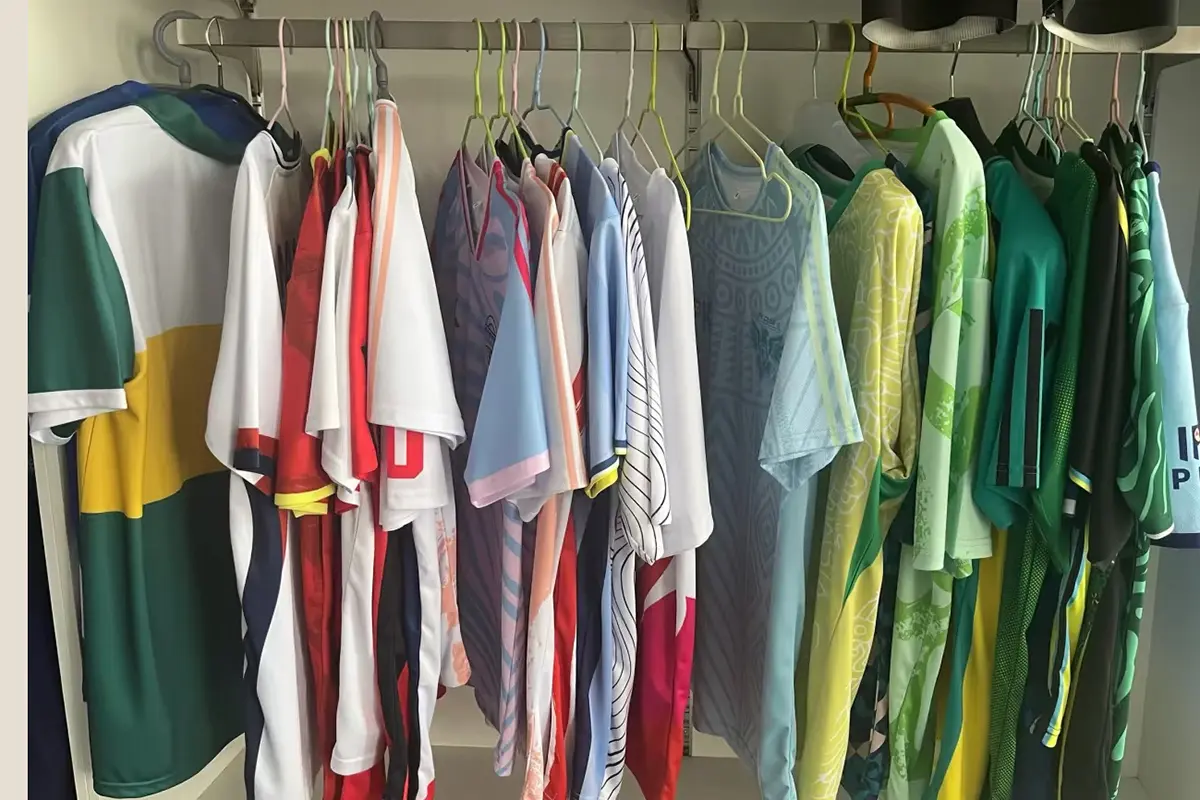
Approve Regular and Slim Fits Separately
Use the correct rugby pattern for each fit.
- Body
Check the chest, shoulders, length, sleeves, and hem. - Movement
Check the sample for its intended use. - Fit version
Approve regular and slim fits separately.

Place Stripes and Sponsors on the Pattern
Set team colors after the rugby pattern is approved.
- Colors
Use Pantone, artwork, or an approved sample. - Stretch panels
Check graphics relaxed and worn. - Seams
Review marks that cross reinforced seams.
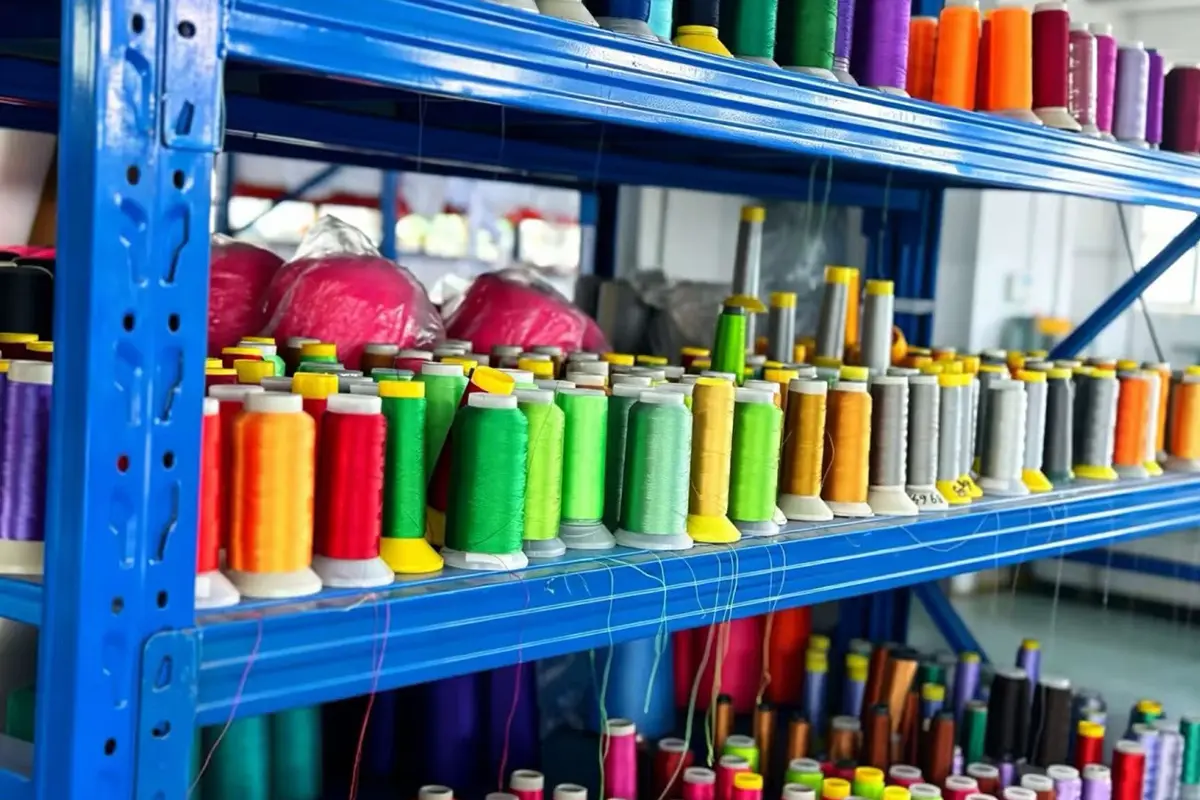
Match Decoration to Each Panel
Confirm the final mark file, size, and position on the sample.
- Sublimation
Keeps sponsors and numbers within a printed polyester panel. - Heat transfer
Test adhesion where the chosen panel stretches. - Patches or embroidery
Need stable support away from high-stretch seams.
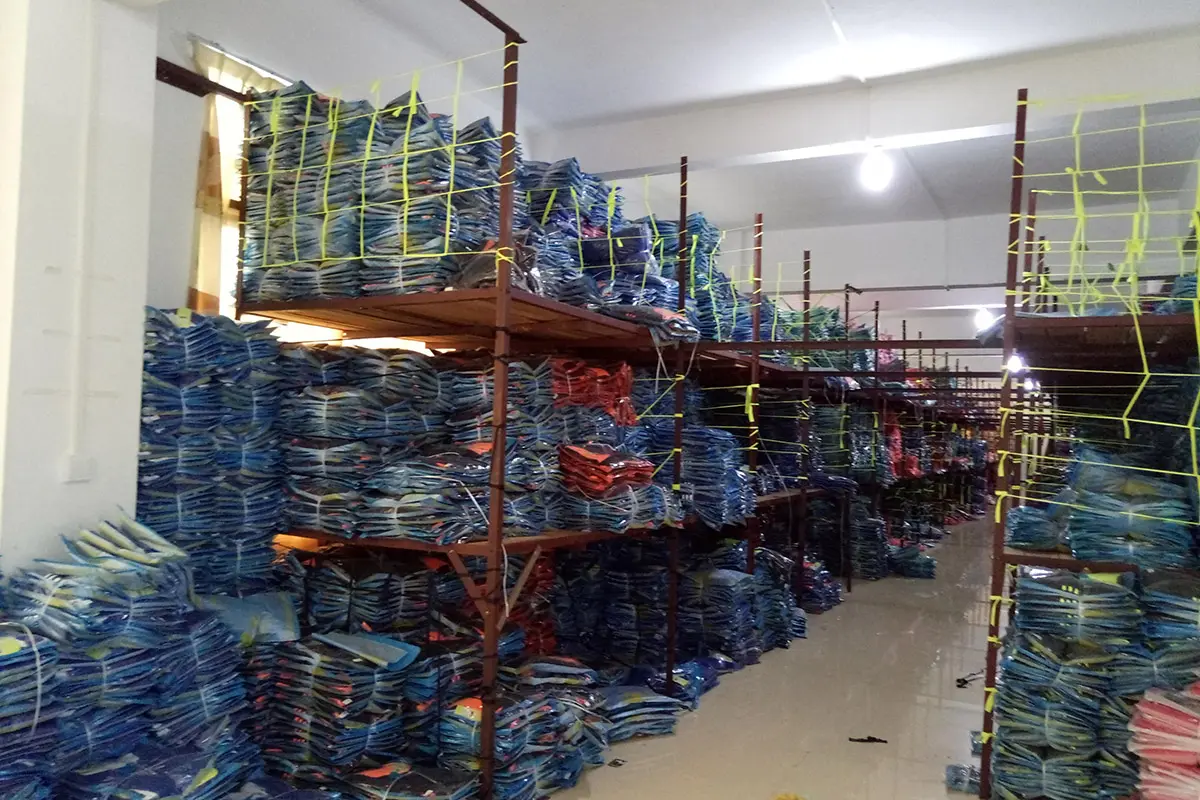
Separate Rugby Fit Versions
Record each player under the approved rugby version.
- Roster
Player, name, number, and size. - Jersey
Match or training, regular or slim, and collar version. - Pack
Check the garment, label, and packing list.
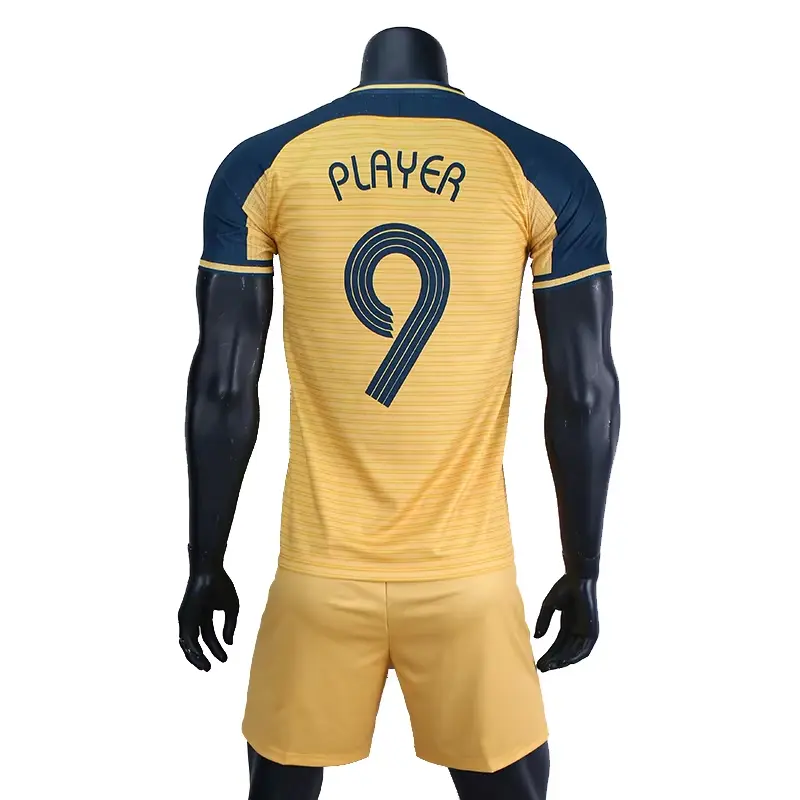
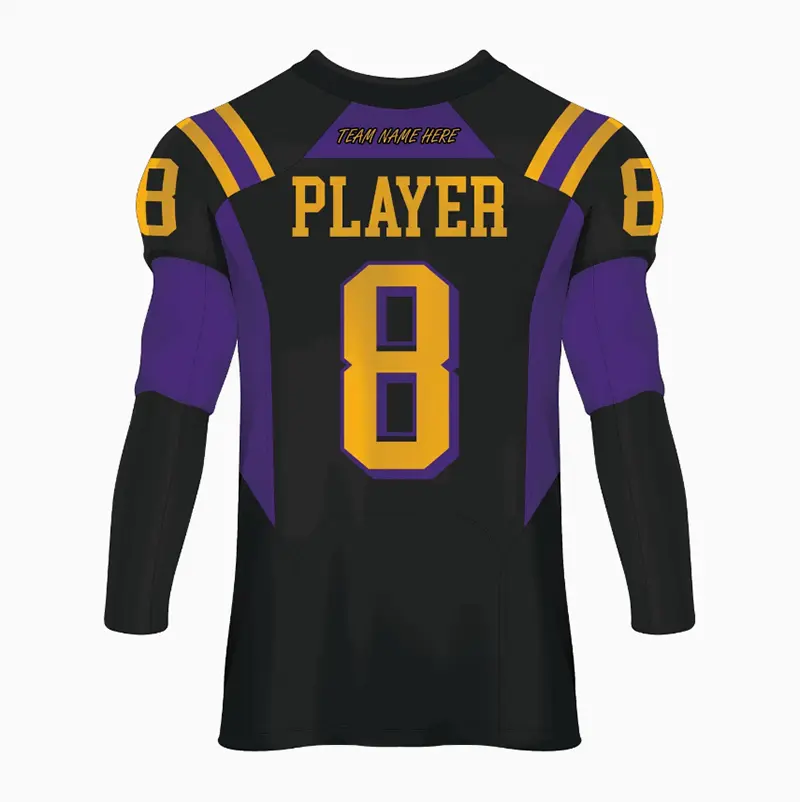
Choose by Fit and Equipment
Choose by contact level, equipment, and sleeve structure.
Check the Collar and Stress Seams First
Inspect the rugby structure before team marks and roster details.
- Collar
Check the opening, shape, and shoulders. - Panels
Check stretch direction and reinforced seams. - Team file
Check sponsors, names, numbers, sizes, and labels.
Send the Rugby Fit and Artwork
Send the use, fit, collar, reference jersey, materials, stretch direction, reinforced areas, quantity, crest, sponsors, player roster, size breakdown, packing plan, delivery destination, and required date.
Request a Rugby Jersey QuoteFrequently Asked Questions
Answers to common rugby collar, seam, stretch, sponsor, and fit questions.